
 14
14
Using Signature Monitors for Customer Invoice Signatures (Tekion)
This guide explains how to collect customer digital signatures using the new signature monitors installed at the service desks.
Step 1 — Open the Repair Order
Open the Repair Order (RO) in Tekion.
Navigate to:
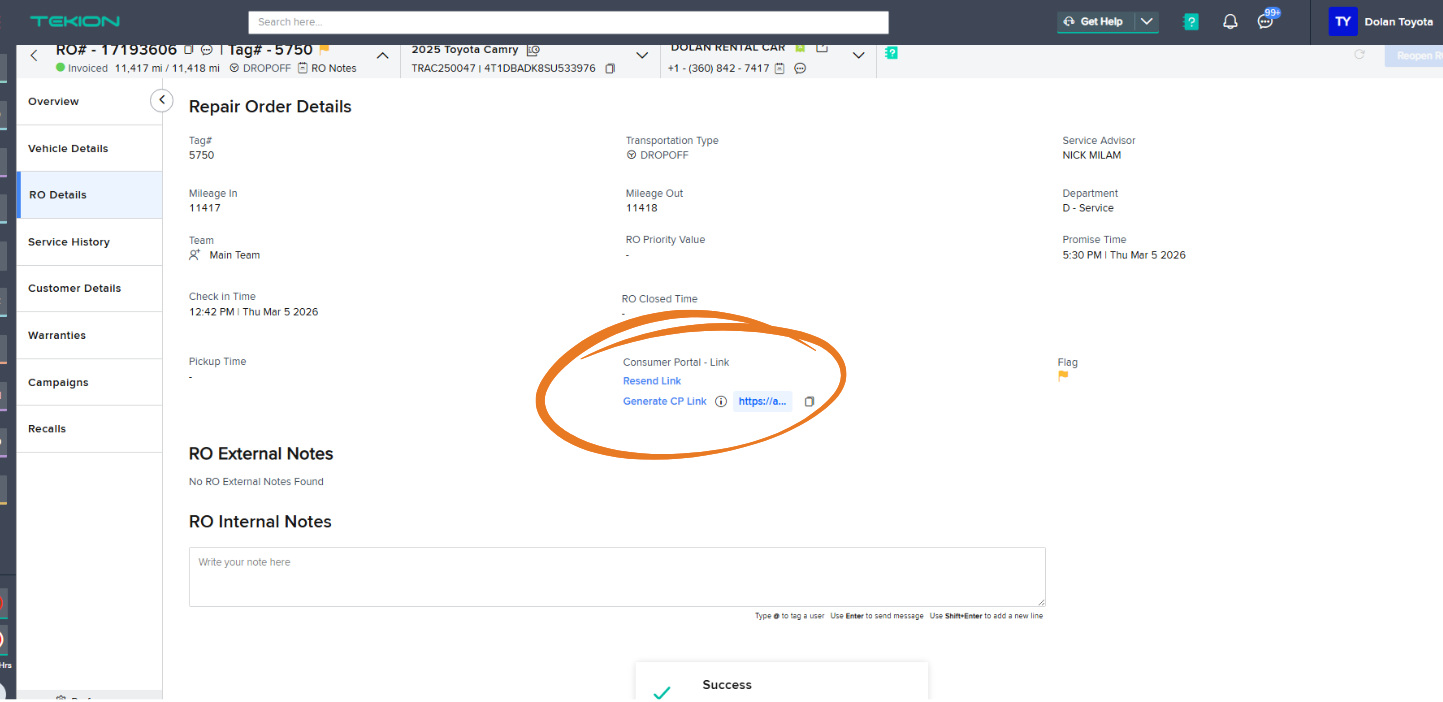
RO Details tab
Step 2 — Generate the Customer Portal Link
From the RO dropdown menu, select:
Generate CP Link
This creates a secure link for the customer to review and sign the invoice.
Step 3 — Open the Link
Click the generated Customer Portal (CP) link.
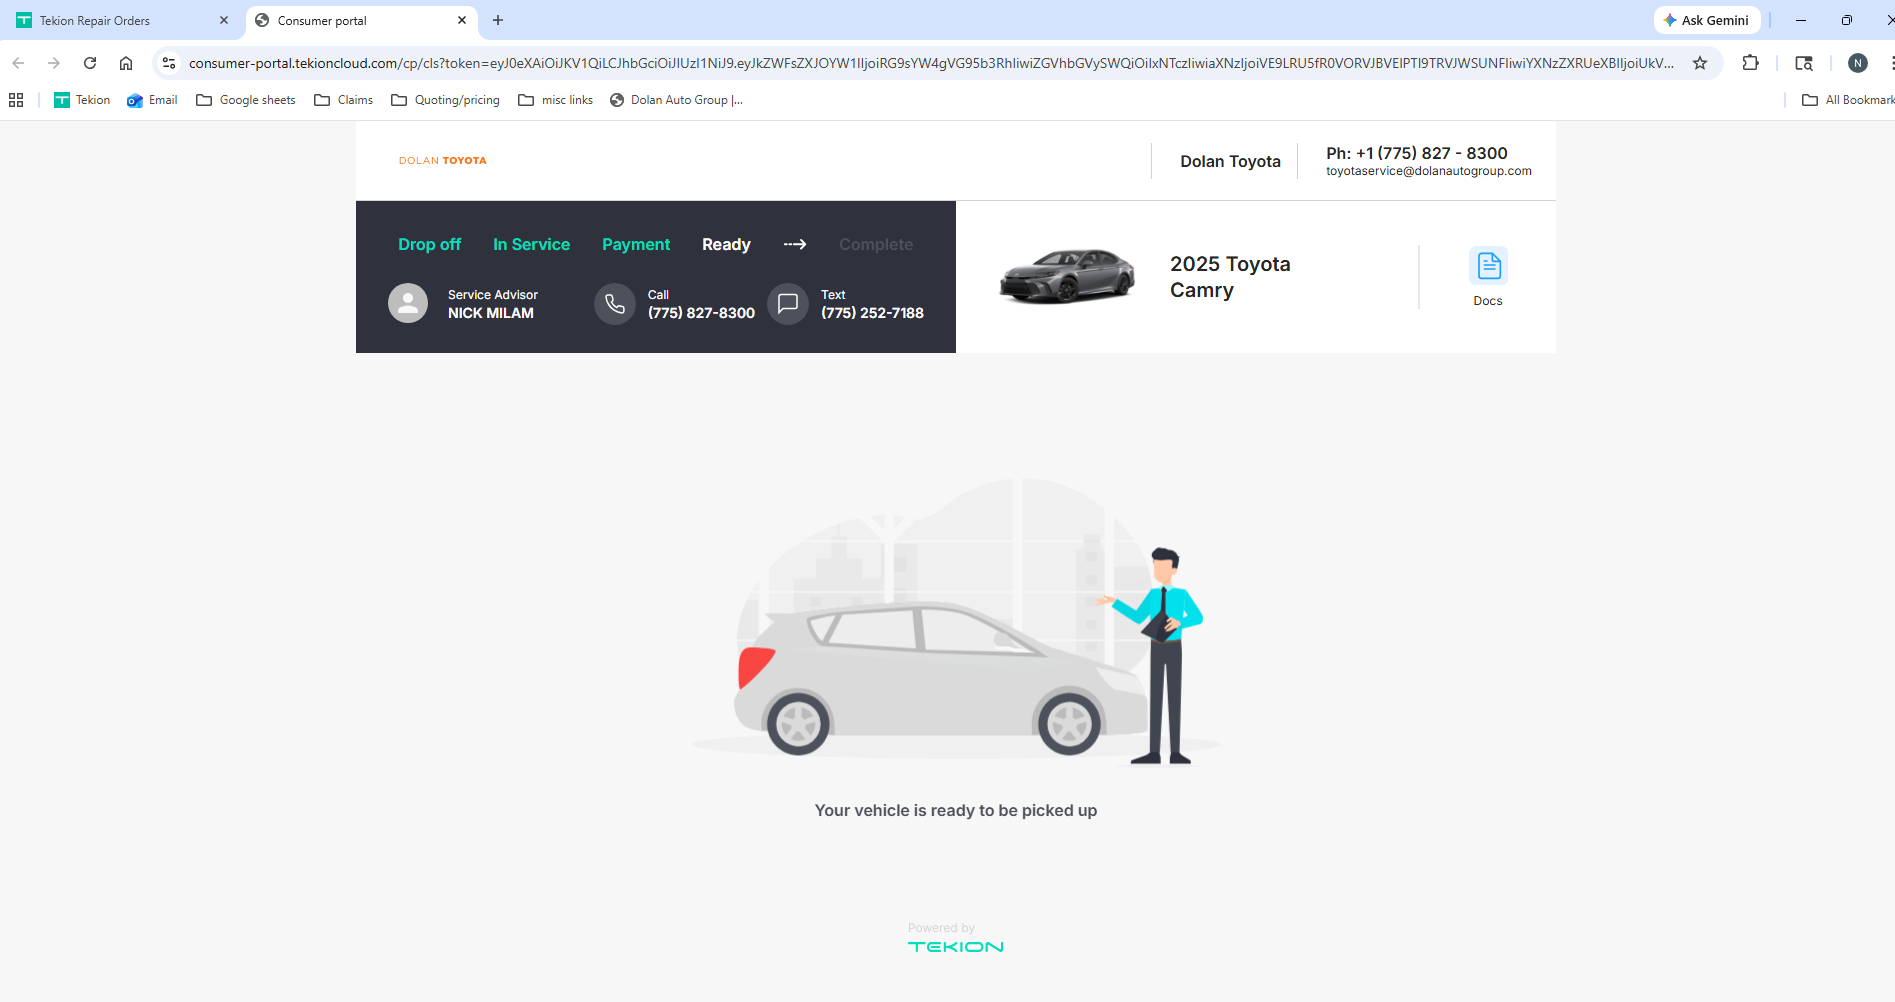
A new browser tab will open displaying the customer portal.
The screen will show the vehicle status and service advisor information.
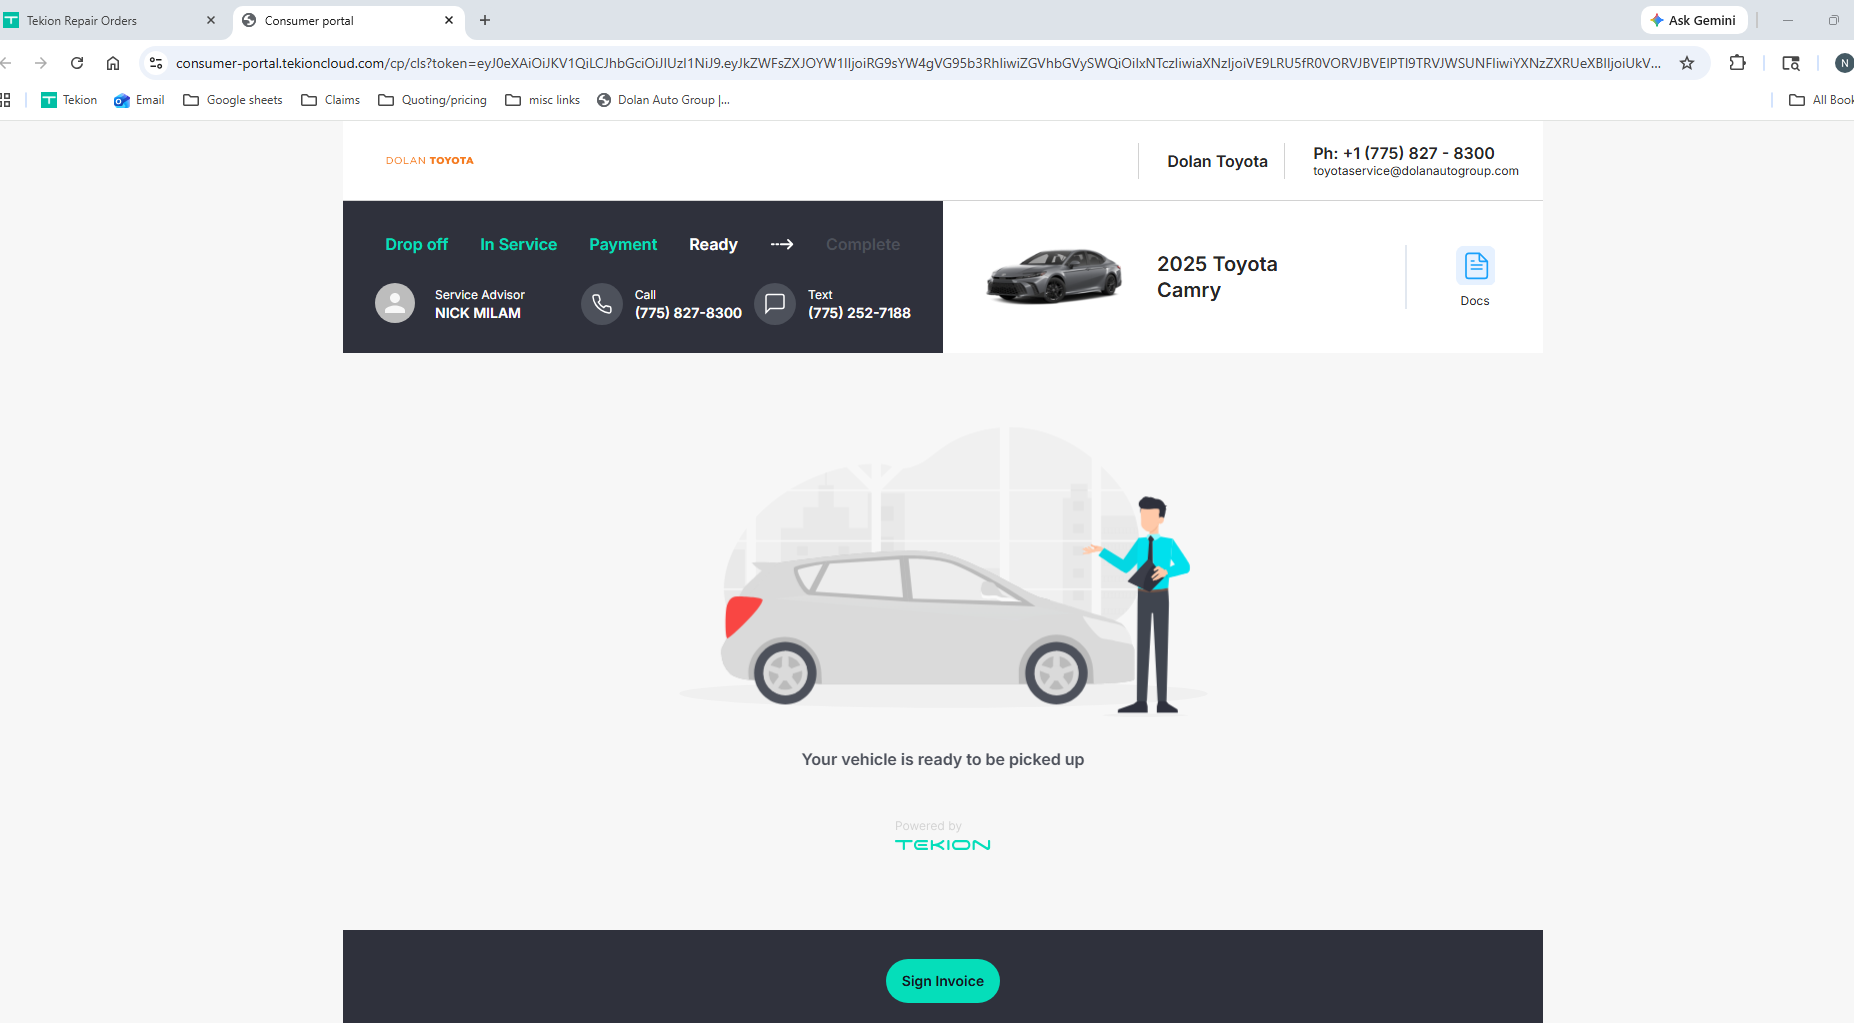
Step 4 — Start the Signature Process
Click:
Sign Invoice
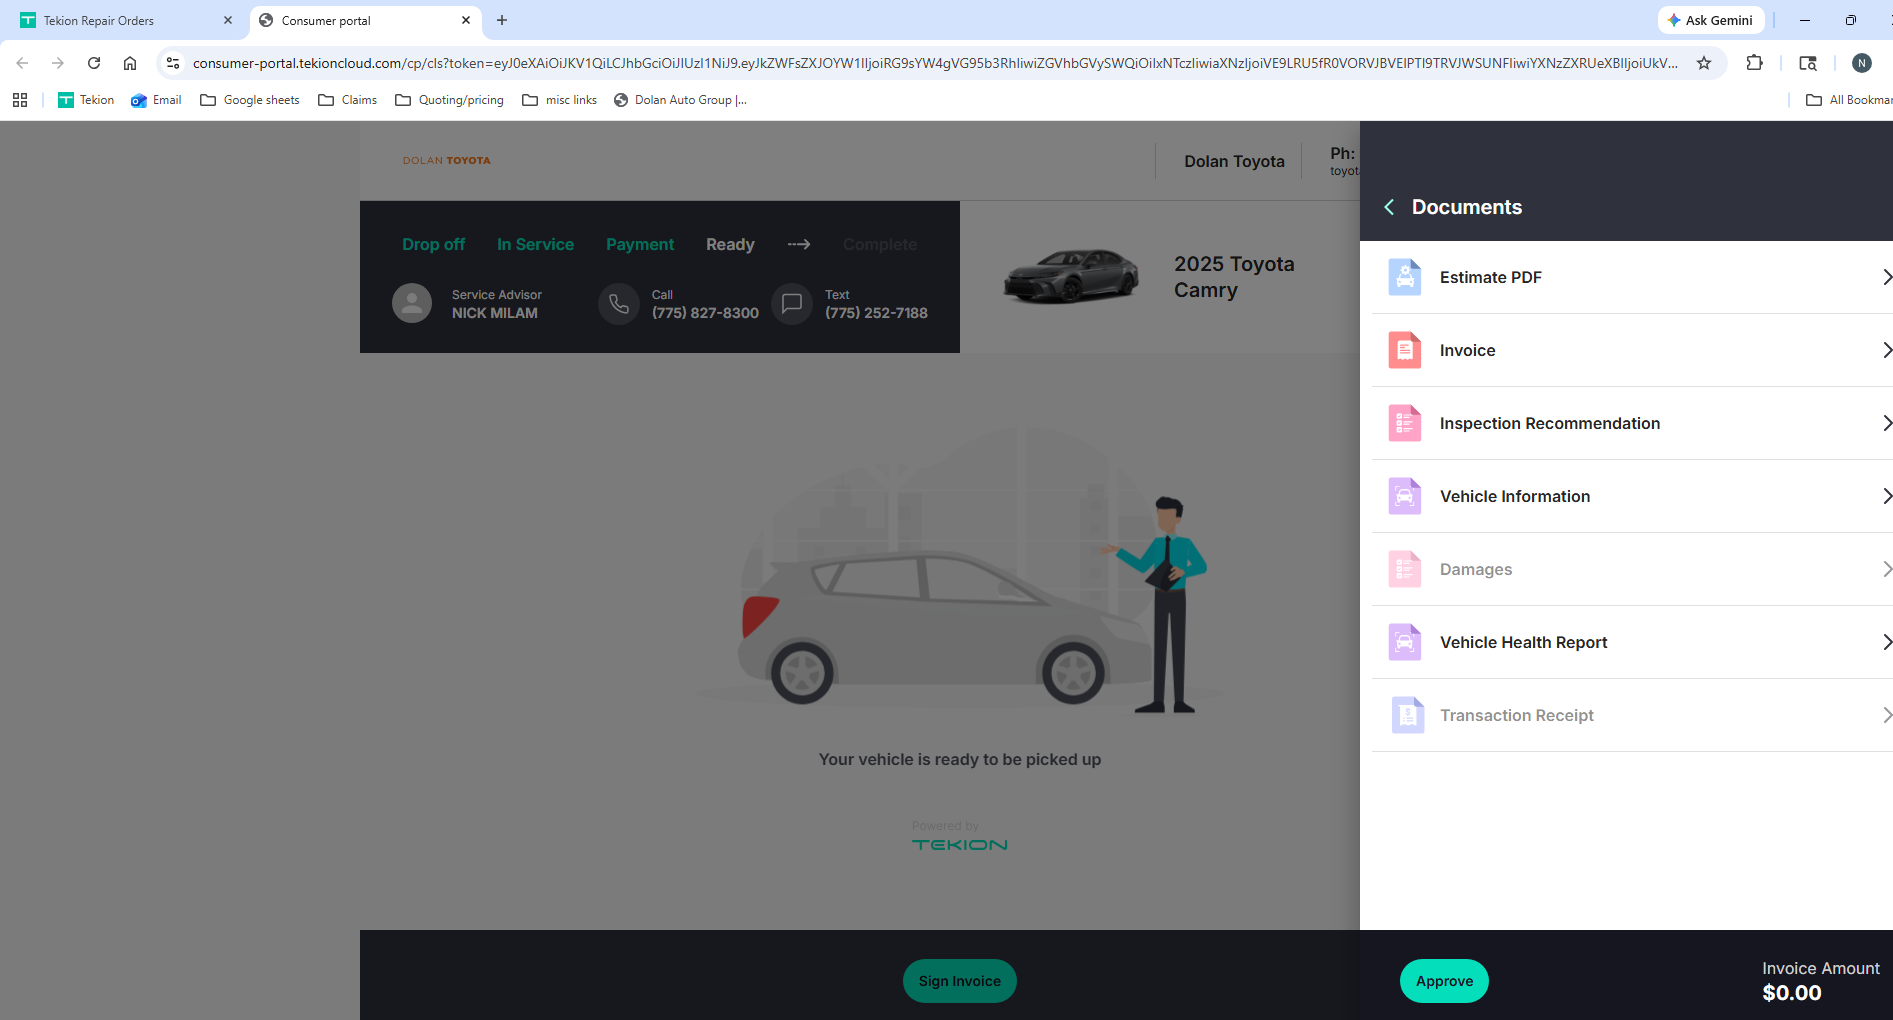
Step 5 — Select the Invoice
If multiple documents exist:
-
Select the Invoice
-
Click Approve
Step 6 — Customer Verification
Tekion will automatically send a 6-digit verification code to the customer's preferred contact method (text or email).
The customer must:
-
Enter the 6-digit code
-
This unlocks the signature box
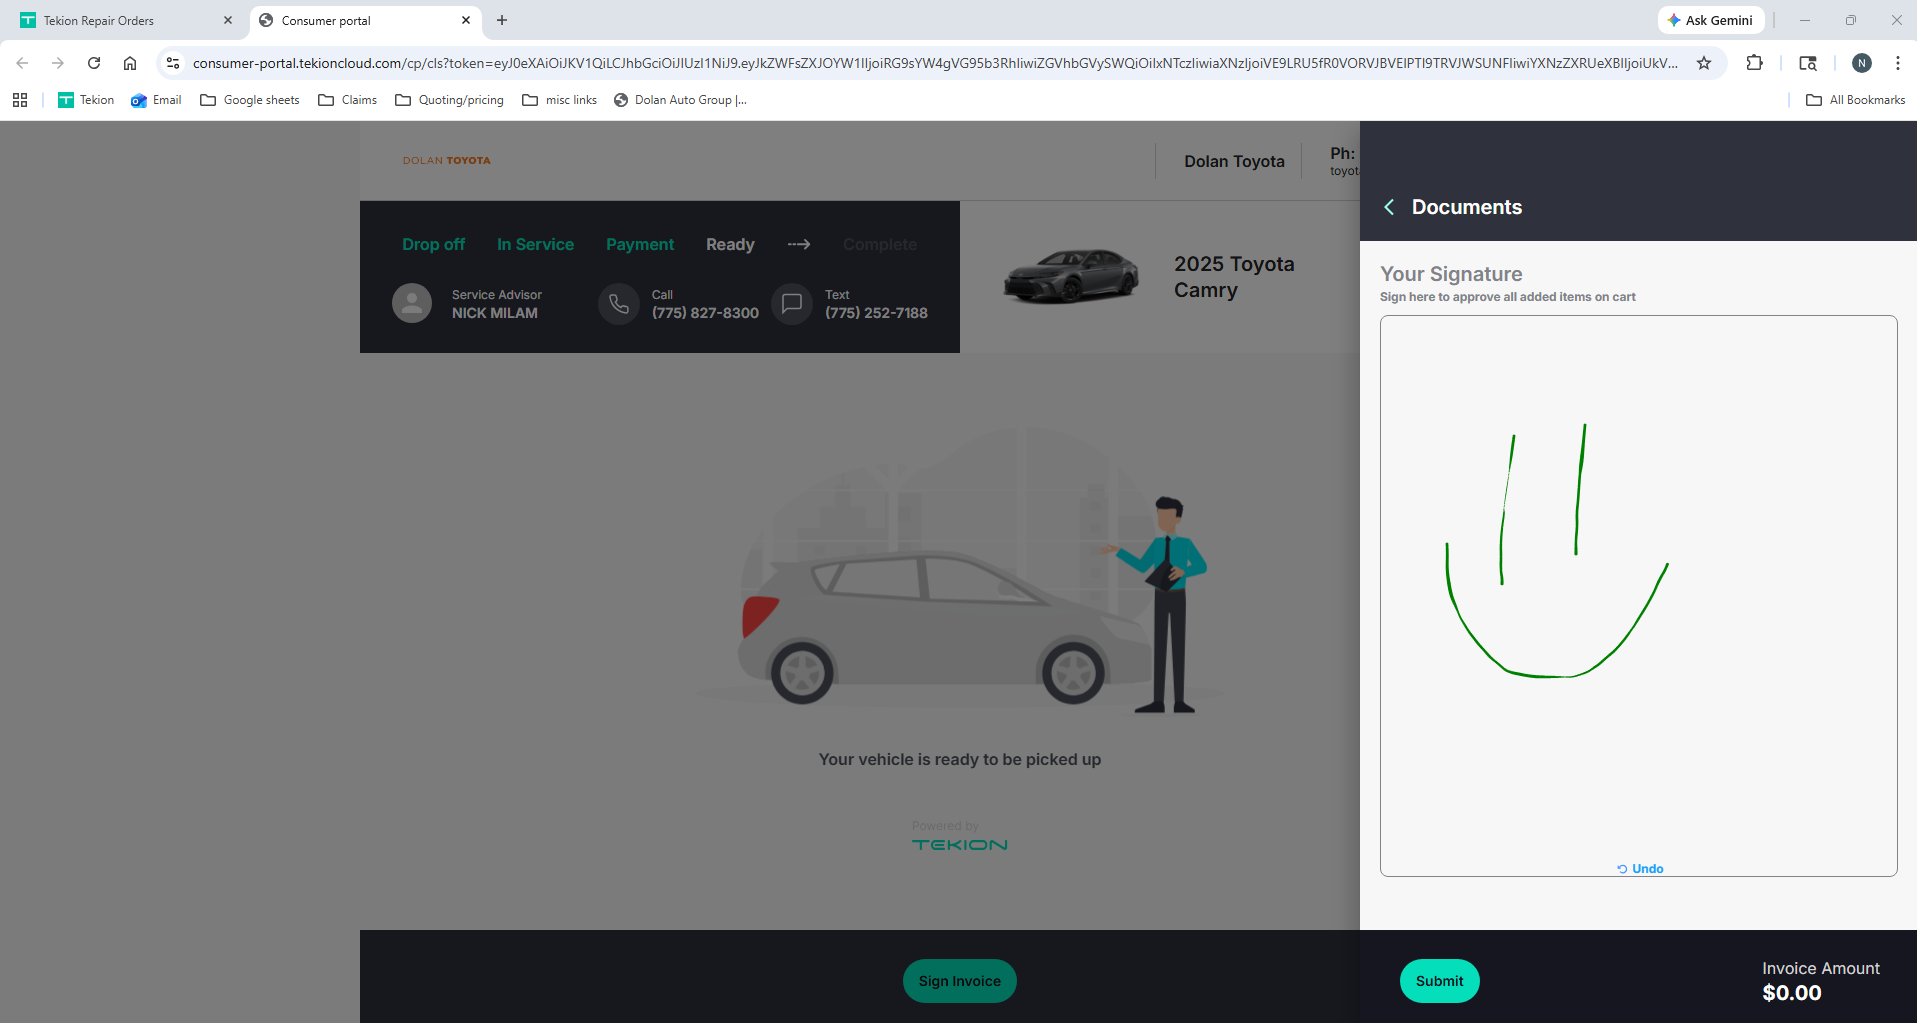
Step 7 — Customer Signs on Signature Monitor
Once unlocked:
-
The signature box appears
-
The customer signs using the touchscreen monitor
-
Click Submit
Step 8 — Confirmation
After submitting the signature:
The portal will display:
"Your vehicle is ready to be picked up."
Signature Monitor Display Settings
For the signature monitor touchscreen to work correctly, the display must be set up in one of these two ways:
- Duplicate the main screen, or
- Extend the display with the signature monitor set as the main display
If the monitor is set to Extended mode and the large main monitor is still selected as the main display, the touchscreen function on the signature monitor may not work properly.
Important:
If the signature monitor is set as the main display, the Windows lock screen will appear on the small signature monitor instead of the larger main monitor. This is expected behavior.
If you experience any display or touchscreen issues, please reach out to IT for assistance.

